Printing techniques offer a creative way to make art by transferring designs onto paper, fabric, or other surfaces. The simplest and most popular methods include relief printing, screen printing, and digital printing, each with its own step-by-step process and materials. Understanding these basics can help beginners start making unique prints quickly.
Many printmaking methods use carved blocks, stencils, or screens to apply ink. By learning how to prepare your design, use the right tools, and apply ink correctly, anyone can create bold and colorful images. This guide will walk readers through easy projects and explain what they need to begin their printmaking journey.
Table of Contents
Key Takeaways
- Printmaking involves transferring designs using carved blocks, screens, or digital methods.
- Basic tools like carving tools, ink, and printing surfaces are essential to start.
- Simple projects can build skills and confidence in different printing techniques.
Understanding Screen Printing
Printing techniques involve different ways to transfer images or text onto surfaces, using various tools and materials. These methods have changed over time and continue to offer unique ways to create art or reproduce information. The techniques vary in complexity, materials, and outcomes.
What Is Printmaking?
Printmaking is the process of creating images by transferring ink from a carved or prepared surface, called a matrix, onto paper or fabric. The matrix can be a block, plate, stone, or screen. In printmaking, multiple copies of the same image can be made, which is a main appeal of this art form.
Each printmaking method has specific tools and steps. For example, relief printing involves carving away parts of a block so that raised areas hold ink. Intaglio uses etched or engraved metal plates where ink fills grooves. Screen printing pushes ink through a mesh stencil onto the surface. The printing press is often used to apply even pressure in some methods, helping create clear, detailed prints.
History and Evolution of Printing
The history of printing dates back thousands of years, starting with basic relief methods used by ancient civilizations. The invention of the printing press by Johannes Gutenberg in the 15th century was a turning point. This press allowed faster reproduction of texts and images, greatly influencing education and communication.
Over the centuries, printmaking evolved to include intaglio, lithography, and screen printing. Each technique emerged from the need to improve detail, speed, or accessibility. Modern printmaking integrates both traditional methods and new technologies, allowing artists to experiment with different materials and surfaces. The evolution reflects both technical progress and changes in how people share visual information.
Popular Types of Printing Methods
Several printing methods are popular due to their unique qualities:
- Relief Printing: Involves carving away non-image areas from a block. Raised areas are inked and pressed onto paper. Woodcut and linocut are common examples.
- Intaglio Printing: Ink is held in engraved or etched lines on a metal plate. Pressure forces paper into these grooves to capture fine detail. Techniques include engraving and etching.
- Lithography: Based on oil and water repelling each other. Artists draw with greasy materials on stone or metal plates, then apply ink that sticks only to the drawn areas.
- Screen Printing: Uses a mesh screen and stencil. Ink is pushed through open areas onto paper or fabric. This method suits bold designs and is common in textiles.
Each method requires different materials, tools, and skills but offers ways to create multiple prints with distinct textures and effects.
Essential Tools and Materials
A successful printmaking project depends on having the right tools and materials. Proper equipment ensures crisp designs and smooth printing, while the choice of ink and paper affects the look and feel of the artwork. Regular cleaning and maintenance keep tools in good condition for consistent results.
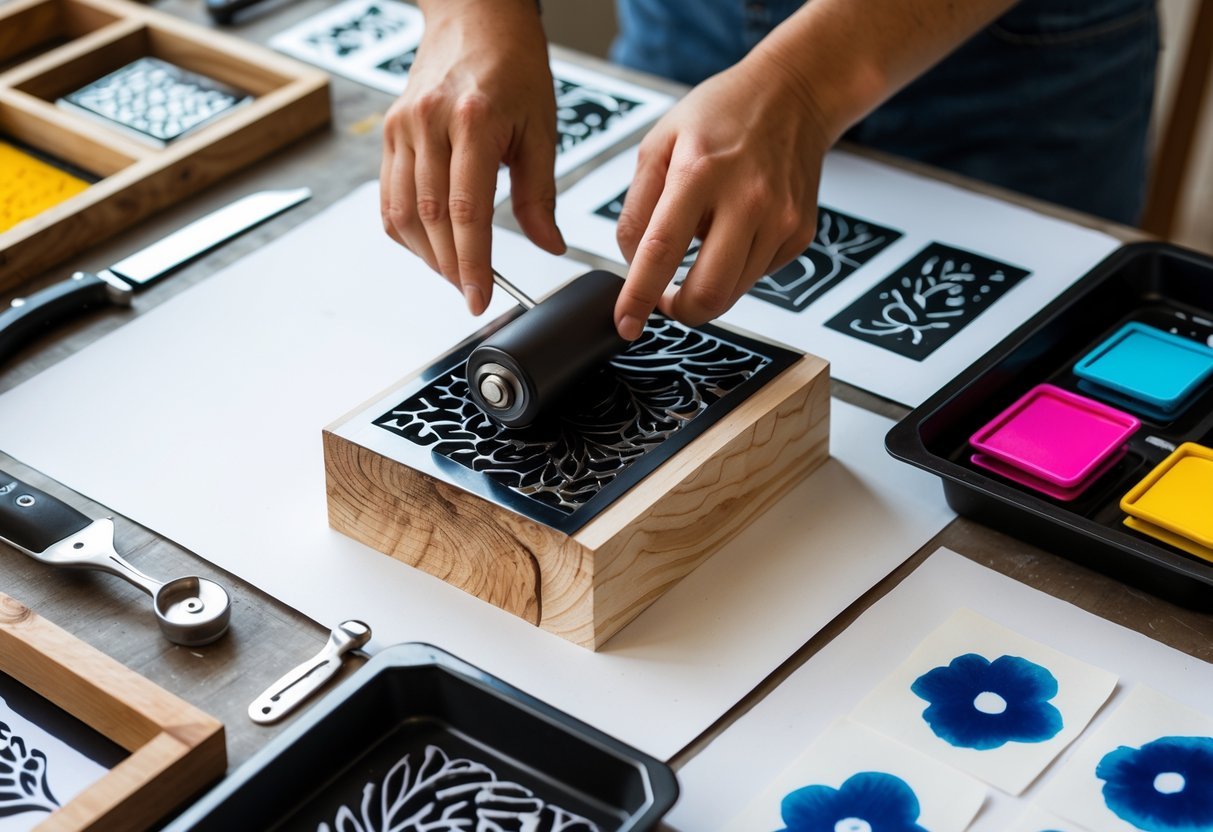
Brayer and Squeegee Usage
A brayer is a small hand roller used to spread ink evenly over the carved matrix or block. It must be rolled gently to avoid applying too much ink, which can cause smudges. For best results, the brayer’s surface should be clean and free of dents or cracks.
A squeegee is essential when printing with screen printing or pushing ink through stencils. It helps apply even pressure to transfer ink smoothly across the surface. Depending on the project, squeegees come with different blade materials and hardness, affecting the ink flow.
Using the right pressure and angle with these tools controls how much ink transfers and the final clarity of the print. Beginners should practice rolling and spreading ink evenly before moving to more complex designs.
Inks and Paper Selection
Water-based inks are ideal for beginners due to their ease of use and cleanup. They dry fast and are less toxic than oil-based inks, making them safer for home studios. These inks work well on both paper and fabric surfaces.
Choosing the right paper affects the quality of the print. Printmaking paper is usually thicker with a textured surface to hold ink well. Beginners can start with general-purpose paper but should upgrade to acid-free or heavyweight paper to avoid warping and fading over time.
The ink viscosity and paper texture must match. Thinner papers require lighter ink layers to prevent bleeding. Trials with different ink amounts help find the best balance for each print project.
Cleaning and Maintenance
Cleaning tools after each print session is crucial. Water-based inks allow easy cleanup with water and mild soap. The brayer should be cleaned thoroughly to prevent ink buildup, which can cause uneven rolling or damage.
Squeegees also require regular washing, especially around the blade edges. Dried ink can cause streaks and reduce the quality of prints. Store all tools in a dry, dust-free area to extend their life.
Maintaining sharp carving tools by cleaning and sharpening them regularly helps produce precise lines and avoids unexpected tearing of the matrix during printing. Proper care minimizes tool replacement costs and keeps workflow smooth.
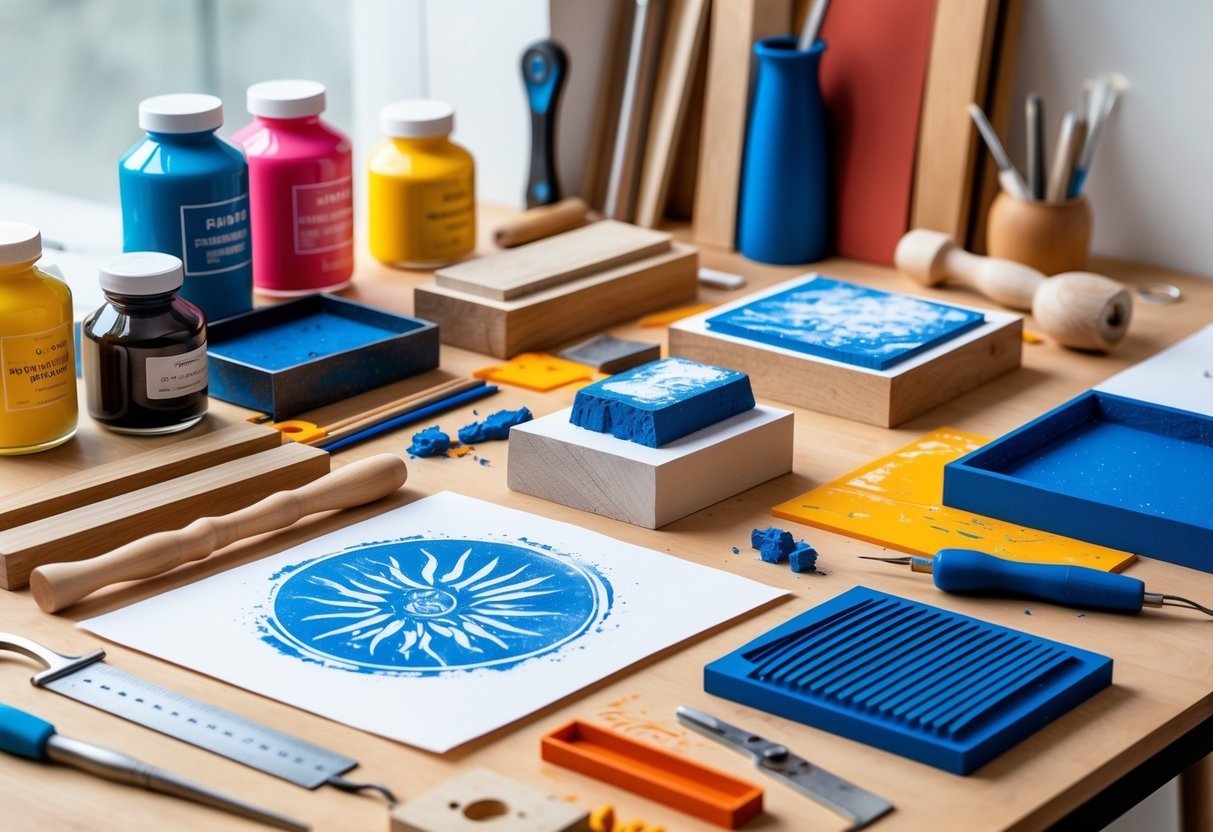
Relief and Stencil Printing Basics
Relief and stencil printing each use different ways to create images by applying ink or paint to a surface. Relief printing carves a design so ink sticks only to raised parts, while stencil printing pushes ink through cut-out shapes to form patterns. Both methods allow for clear, repeatable designs on paper, fabric, or other materials. Understanding their materials, tools, and steps helps beginners start making prints confidently.
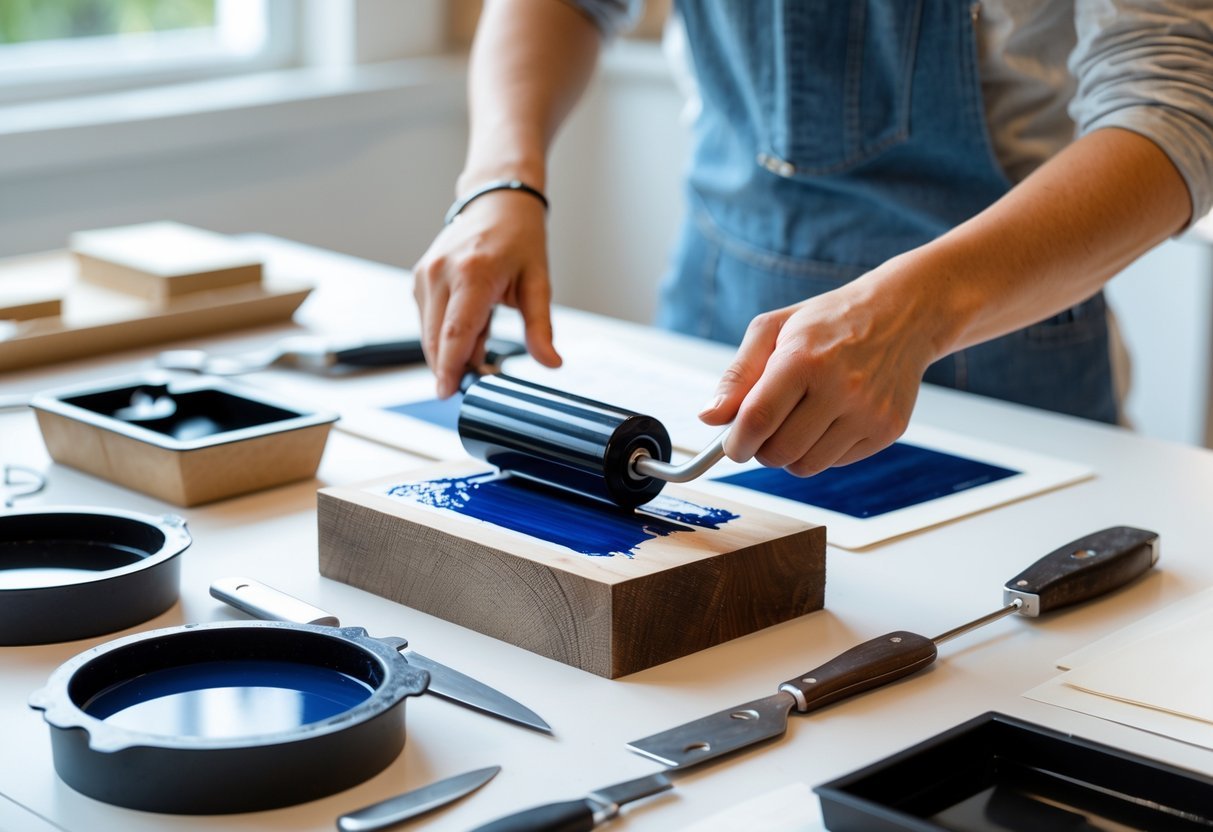
What Is Relief Printing?
Relief printing is a technique where the artist carves away parts of a surface, like wood or linoleum, leaving the raised areas to hold ink. Only these raised parts transfer ink to paper or fabric, so the design appears in the inked areas, while carved-away parts stay blank.
Common materials include wood, linoleum, and rubber. Wood is durable with natural texture, but harder to carve. Linoleum is softer and easier for beginners. Rubber is soft but wears out faster.
Tools used include carving gouges and chisels, rollers for inking, and a baren or press to transfer the image. Relief printing designs often have clear, bold lines because of this carving and inking method.
Introduction to Stencil Printing
Stencil printing uses a thin sheet with parts cut out to create a design. Ink or paint is pushed through the openings with a brush, roller, or squeegee onto paper, fabric, or other surfaces. The areas covered by the stencil remain blank, creating sharp shapes and high contrast.
Materials for stencils can be paper, plastic sheets, or mesh screens. This method suits simple shapes and repeat patterns well, often used for posters, t-shirts, and signs.
Stencil printing is flexible. Artists can layer colors or change stencils for different effects. It doesn’t require carving, making it easier and safer to learn.
Step-By-Step Process
Relief printing process:
- Choose a material like linoleum or wood.
- Draw the design on the surface.
- Carve away the negative areas (no ink).
- Roll ink over the raised parts.
- Press the inked material onto paper or fabric.
- Lift carefully to reveal the print.
Stencil printing process:
- Create or select a stencil with cut-out areas.
- Place the stencil securely over the surface.
- Apply ink or paint through the openings with a roller or brush.
- Remove the stencil gently to avoid smudging.
- Let the print dry before handling.
Both methods require practice to control ink coverage and pressure for clean prints. Safety gear like gloves and eyewear is important in relief carving. Stencil printing may need fewer tools, making it more accessible for beginners.
Getting Started with Screen Printing
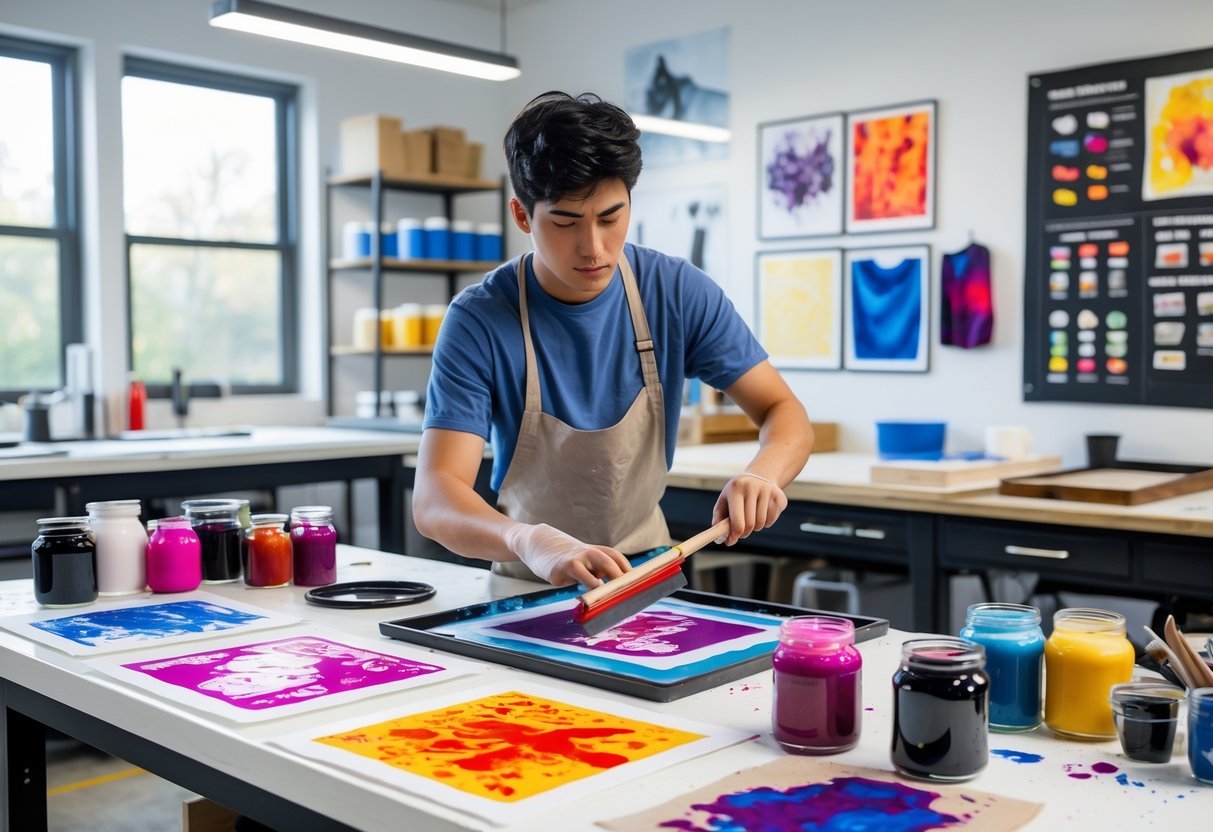
Screen printing involves using a stencil to transfer ink through a mesh screen onto a surface. To begin, it’s important to know how the process works, how to set up a workspace, and how to handle common problems. These basics help create clear prints and avoid wasted materials.
How Screen Printing Works
Screen printing uses a mesh screen stretched over a frame. First, a stencil is made by coating the screen with a light-sensitive substance called emulsion. When the screen is exposed to light, the emulsion hardens except where the design blocks it. The unexposed areas wash away, creating the stencil.
Ink is placed on the screen, and a squeegee pushes it across the surface, forcing the ink through the open parts of the stencil. This transfers the design onto fabric or paper.
The process works for materials like T-shirts, posters, and tote bags. Knowing each step helps produce sharp, lasting prints.
Setting Up a Screen Printing Station
A proper workspace is key. Use a flat table with good lighting and enough room for your materials. Organize tools like the screen, ink, squeegee, and cleaning supplies nearby.
Ensure the screen is clean and dry before coating it with emulsion. Keep the emulsion in a dark place to prevent premature hardening. After coating, let it dry completely in a dark, dust-free area.
For exposure, natural sunlight or a strong lamp can work. A rinse station or sink nearby helps wash out the stencil after exposure.
Keep the area tidy during printing. This reduces mistakes and protects your equipment.
Basic Troubleshooting Tips
Common issues include blurry prints, ink bleeding, and uneven ink coverage. If the print looks fuzzy, check the stencil for damage or incomplete washing out. The emulsion might not have cured properly.
Ink bleeding often happens when too much ink is used or the screen is pressed too hard with the squeegee. Use moderate pressure and apply ink sparingly.
If the print is patchy, make sure the screen and fabric are flat and steady. Misalignment causes blurry edges, so line up the design carefully before each print.
Cleaning screens after each use prevents ink buildup and extends their life. Use water-based cleaners for most inks.
Regular maintenance and attention to detail help avoid failures and improve print quality.
Digital Printing Explained

Digital printing uses modern technology to produce images directly from digital files. This method changes how printing presses work by removing the need for plates and allowing faster setup times. It offers specific advantages and limits that help decide when it is the best choice for a project.
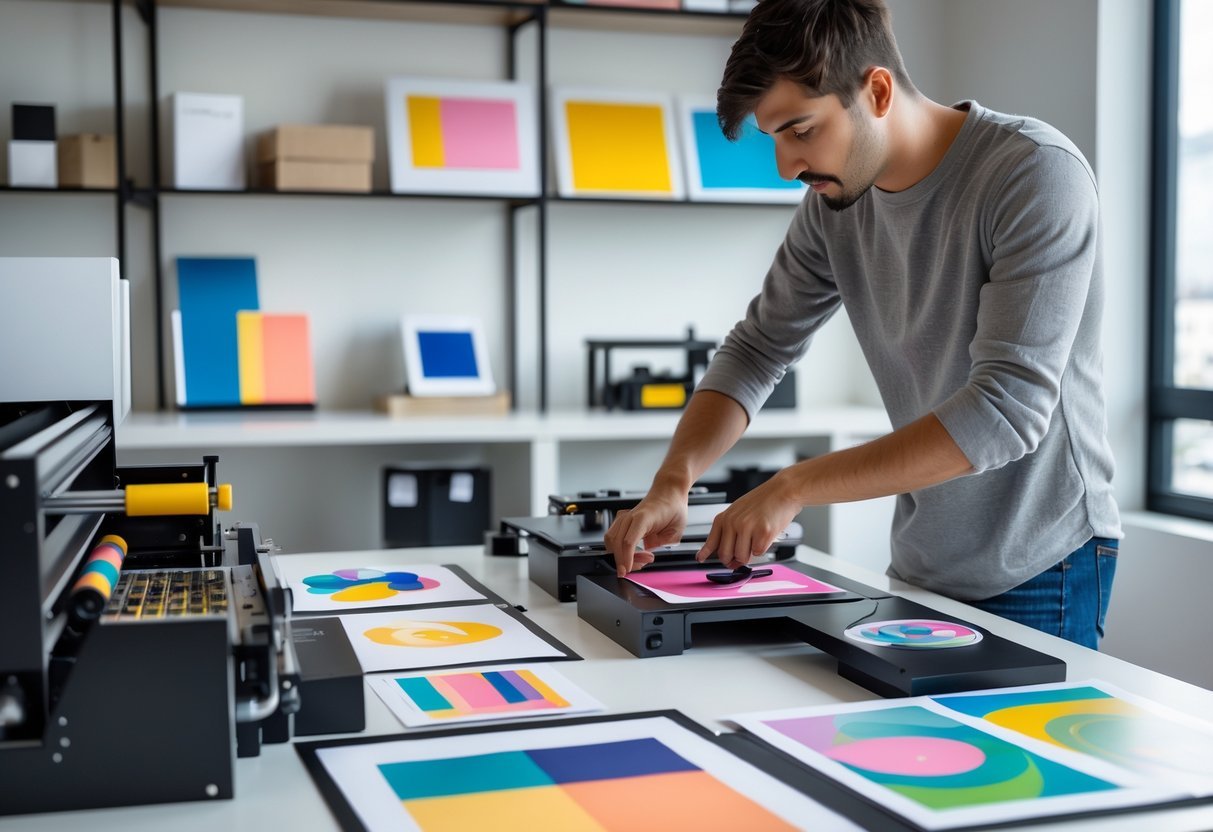
What Is Digital Printing?
Digital printing means sending a digital file, like a PDF, straight to a printing press. Instead of using traditional plates, the printer applies toner or ink directly onto paper or other materials. This process lets users print exactly the number of copies they need without high setup costs.
There are two main types: dry toner, which uses charged toner particles fused to paper with heat, and inkjet, which sprays ink droplets. Dry toner usually provides sharper text and colors. This technology works well for short to medium print jobs, such as brochures, small book runs, or promotional materials.
Benefits and Limitations
One key benefit of digital printing is its speed. Once files are ready, printing can start quickly, often within minutes. It’s also cost-effective for small quantities since it avoids expensive plate setups. This means orders under 500 copies are cheaper with digital printing.
However, digital printing has some limits. The cost per copy stays the same whether printing 10 or 400 copies, so large runs may be cheaper with offset printing. Also, the range of printing materials and special inks is narrower. For example, metallic or textured finishes generally require traditional printing methods.
Choosing the Right Projects
Digital printing suits projects needing fast turnaround and lower quantities. It works well for things like short-run books, flyers, business cards, and event materials. Projects that require frequent updates or variable data, such as personalized mailers, benefit from digital printing’s flexibility.
For high-volume projects with consistent, specialized finishes, offset printing remains the better option. Digital printing presses often produce sharp, clear results, but deciding depends on quantity, budget, and material needs. Users should evaluate these factors before selecting a printing method.
Beginner-Friendly Printmaking Projects
Starting printmaking is easier when you pick projects that fit your skill level. Using simple shapes and tools helps build confidence. Trying different textures and colors adds interest without being too hard. Following clear steps keeps prints consistent and neat.
Simple Designs to Try
Beginners should begin with designs that use basic shapes like circles, squares, and lines. These shapes are easier to carve and ink evenly. Patterns like stripes, polka dots, or simple leaves work well for first projects.
Using stencils can make carving safer and more accurate. Linoleum or rubber blocks are good materials for carving because they’re softer and forgiving. It’s best to start with a small block to manage the space and details easily.
Simple designs let beginners focus on tool control and the inking process. Once comfortable, they can move on to more detailed images.
Experimenting with Layers and Textures
Adding layers of ink can create depth and interest. Beginners can print multiple times using different colors or slightly different designs. Each layer should dry before adding the next to avoid mixing colors.
Printing over textured surfaces like fabric or rough paper changes the look of the final print. Textures can also come from experimenting with carving different line widths or dot patterns.
Using tools like sponges or brushes before rolling ink on the block can create varied textures. It’s important to test layers and textures on scrap paper first. This practice helps control how each print will look.
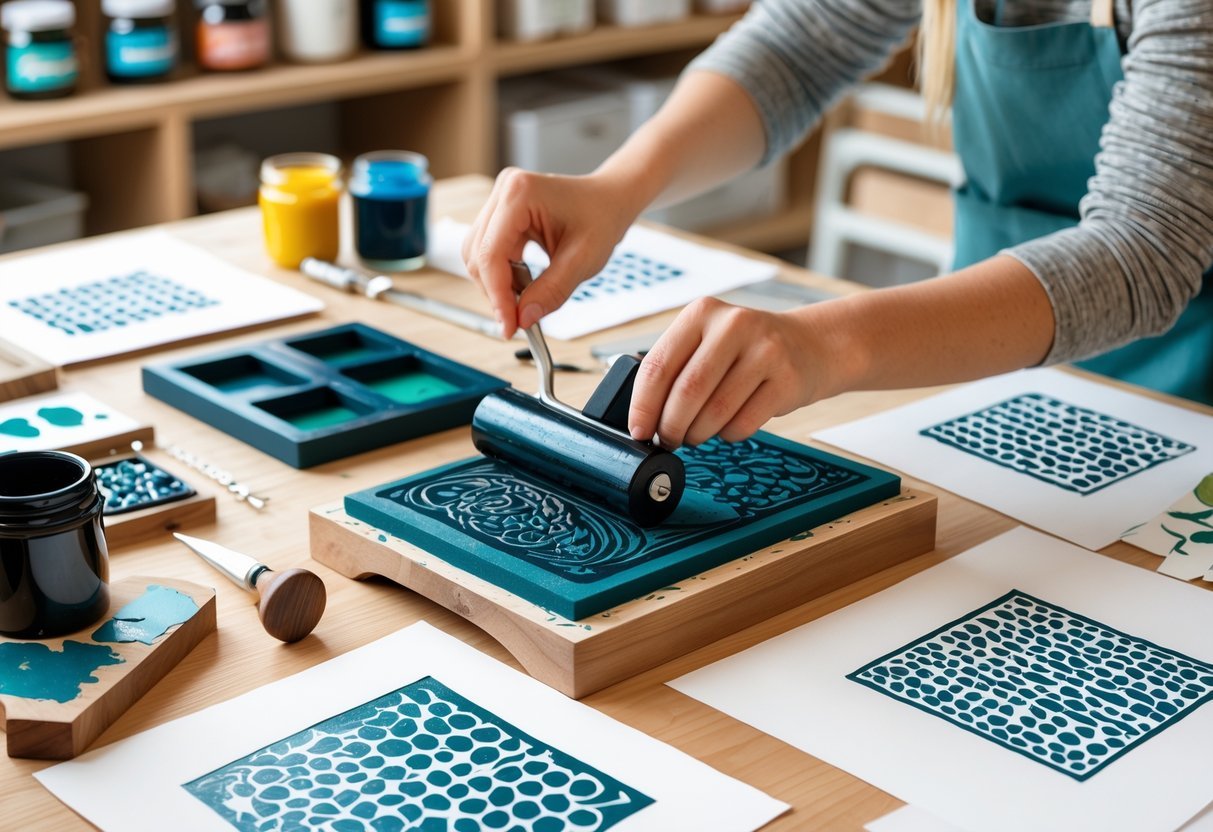
Tips for Consistent Results
Consistency means getting clean and repeatable prints. Beginners should roll ink evenly using a brayer, applying just enough to cover the surface without flooding it. Too much ink causes smudging; too little leads to faint prints.
Keeping the paper and block steady during printing helps avoid blur. Using a baren or pressing evenly with hands gives better pressure distribution than just pressing randomly.
Cleaning tools between prints maintains sharp lines and colors. Beginners should print in a clean, flat space and prepare materials before starting to keep the process smooth.
Simple routines and patience improve the quality of prints quickly.
Frequently Asked Questions
Understanding different printmaking methods, how to set up equipment, and key techniques can help anyone start making quality prints. Knowing the steps for screen printing and how to adapt to various systems makes the process easier. Following basic principles ensures better results and fewer mistakes.
What are the four main types of printmaking?
The four main types are relief, intaglio, lithography, and screen printing. Relief involves carving a surface and applying ink to the raised parts. Intaglio uses grooves in metal plates to hold ink. Lithography works by using the repellent properties of oil and water on a flat surface. Screen printing pushes ink through a mesh stencil onto fabric or paper.
What is the step-by-step process for screen printing?
First, create a stencil on a mesh screen by blocking out certain areas. Next, place the screen over the material to be printed. Ink is then pushed through the open parts of the screen using a squeegee. Finally, lift the screen carefully and let the ink dry.
How can you learn screen printing techniques as a beginner?
Beginners should start with basic tutorials or workshops. Practicing with simple designs helps build confidence. Using kits designed for beginners can provide all needed tools and instructions. Watching videos and reading guides also helps understand the process and safety tips.
How to correctly set up and use a printer if you’re starting?
Choose a well-lit, flat workspace free from clutter. Follow the printer manual to install drivers and load paper correctly. Use quality ink and compatible paper for better results. Regularly clean the printer heads to avoid clogging or streaks.
What are some basic principles and rules for beginner printing?
Always test prints on scrap material first to adjust ink and pressure. Work in a well-ventilated area to avoid inhaling fumes. Keep tools and workspace organized to prevent accidents. Handle sharp tools carefully, carving away from your body.
How do you perform screen printing on different operating systems?
Screen printing itself does not depend on computer operating systems. However, designing the stencil might require software that runs on Windows, macOS, or Linux. Popular programs include Adobe Illustrator and free options like Inkscape. Users should export designs to formats compatible with cutting or printing machines used in screen printing.