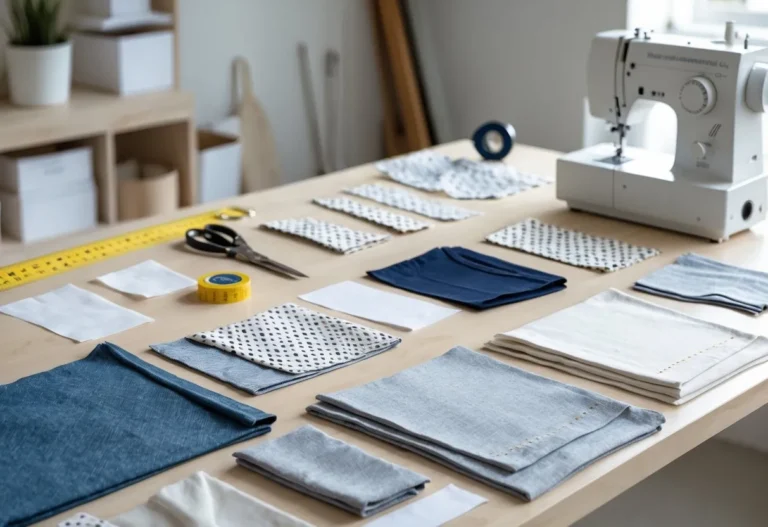
Embroidered patches are a simple way to add personality and style to clothing, bags, and accessories. Whether repairing an old jacket or customizing a backpack, patches can make a clear statement. Knowing how to attach them correctly ensures they stay secure and look good over time.
There are four main ways to apply embroidered patches: ironing on with heat, sewing by hand or machine, using fabric glue, and applying with an embroidery machine for professional results. Each method offers different benefits depending on the fabric, patch type, and how long-lasting the attachment needs to be.
Table of Contents
This guide will explain each technique clearly, helping readers choose the best method for their project. It will cover the tools and basic steps needed to get the perfect result every time.
Key Takeways
- Different attachment methods fit different fabrics and patch styles.
- Sewing patches is the most durable way to secure them.
- Heat and glue offer quick options but may not last as long.
Choosing the Best Method to Attach Embroidered Patches
Selecting the right way to attach an embroidered patch depends on several practical details. The fabric type, how long the patch should stay on, and the daily use of the garment all affect this decision. Balancing these elements helps achieve the best look and function.
Factors to Consider: Fabric Type and Patch Backing
The type of fabric is crucial when picking an attachment method. Thick fabrics like denim or leather can handle sewing well, providing a strong hold. Thin or delicate fabrics, such as silk or lightweight cotton, may get damaged by sewing or heat and might do better with glue or Velcro.
Patch backing also matters. Iron-on patches have a heat-activated glue layer. This works best on fabrics that can tolerate high temperatures, like cotton. Patches with Velcro backing offer easy removal but require fabric that can support the hook-and-loop system. For fabrics sensitive to heat or adhesives, hand sewing is often safest.
Permanent vs Temporary Attachment Options
Permanent methods like sewing and heat sealing supply long-lasting results. Sewing stitches the patch firmly onto the fabric, making it durable through many washes. Heat seal is quicker but less robust, and patches might peel off after repeated washing.
Temporary options include fabric glue and Velcro. Glue is simple to apply and good for short-term use or decoration. Velcro allows patches to be changed or removed easily, ideal for uniforms or event wear. However, temporary attachments usually don’t last as long under heavy wear.
Durability and Intended Garment Usage
Durability needs depend on how often the garment is worn and washed. Patches on work uniforms or outdoor gear require strong sewing for lasting attachment. Casual or decorative patches on handbags or jackets might use heat seal or glue if less frequent washing is expected.
Garments that face rough use demand a secure method, such as machine sewing or embroidery machine stitching. Heat-sealed and glued patches might falter after tough treatment or many laundry cycles. Considering how the garment will be worn and cleaned guides the patch application choice for the best life span.
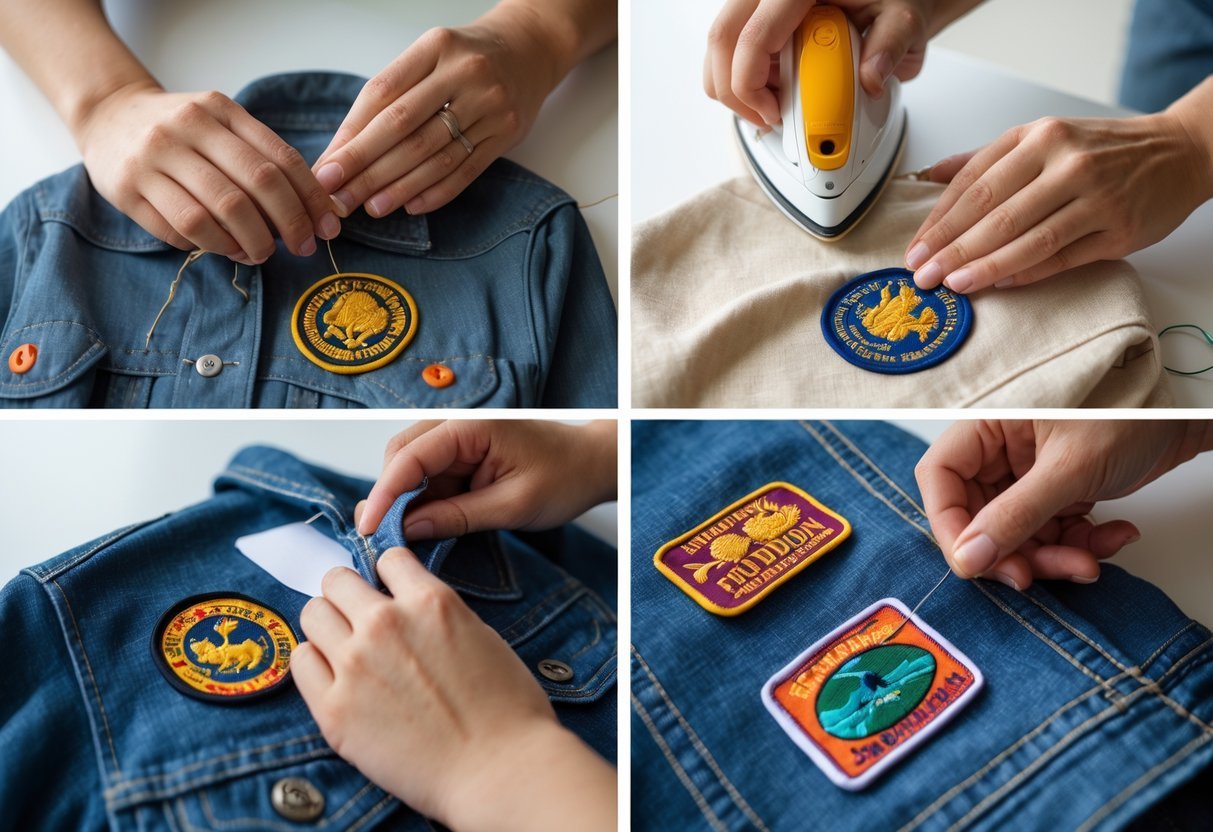
Iron-On Method for Embroidered Patches
This method uses heat to activate the adhesive on the back of the patch. Knowing the right order of steps, fabric types that work best, and key tips can help ensure the patch sticks well and lasts longer.
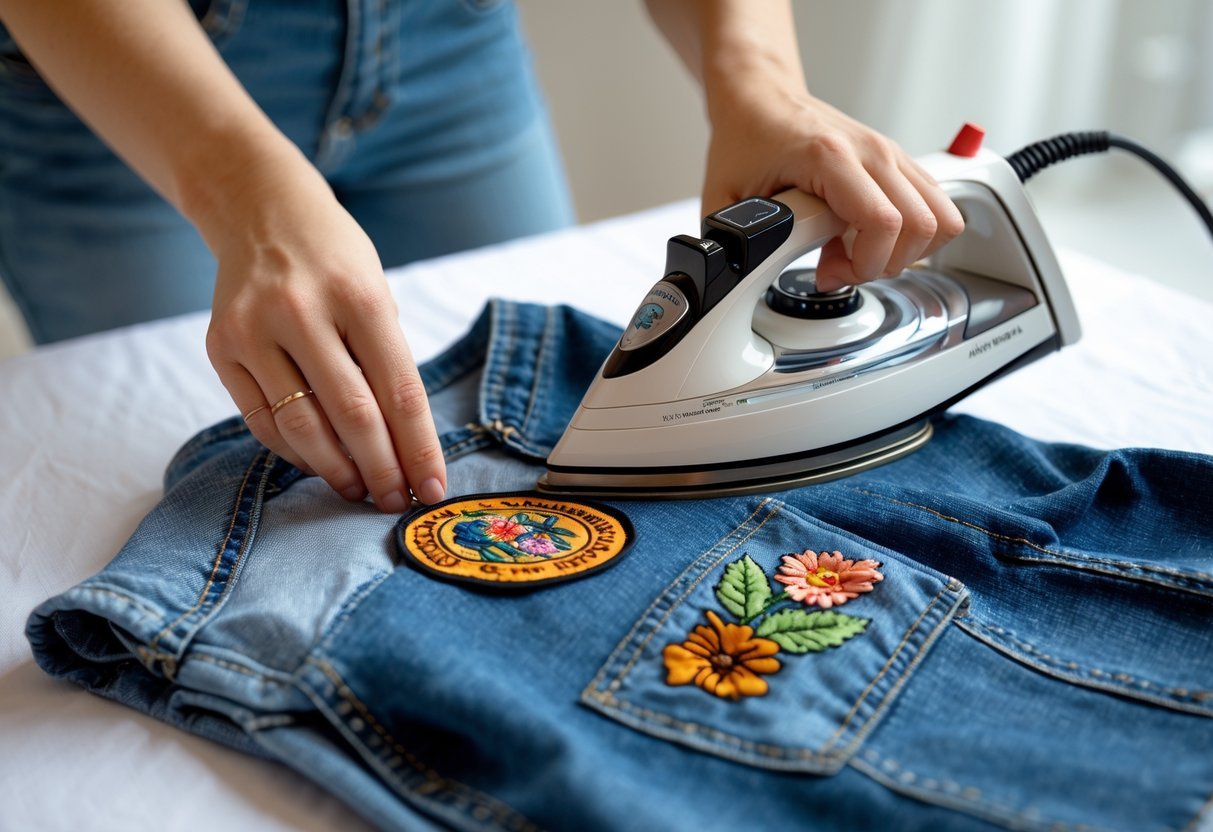
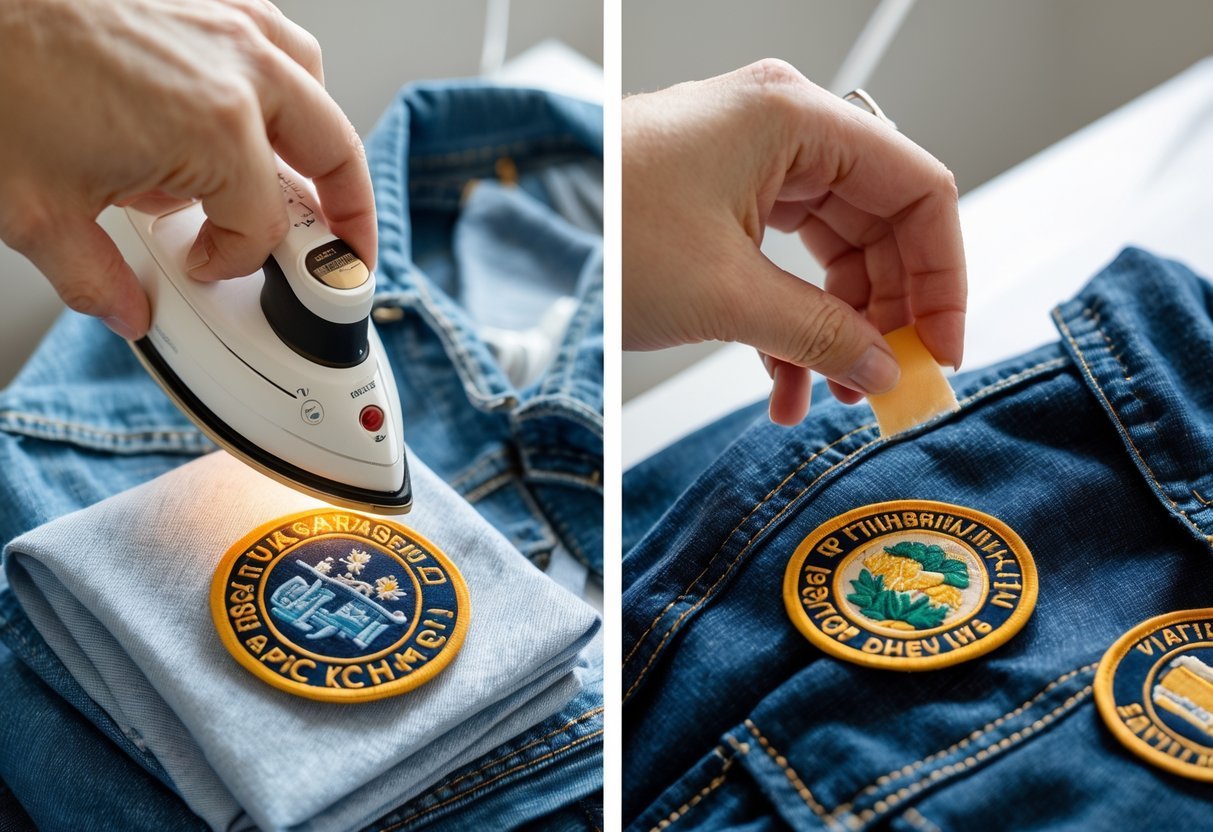
Step-by-Step Guide to Iron-On Application
First, preheat the iron to the temperature recommended for the fabric, usually medium-high without steam. Next, position the patch on the desired spot, with the adhesive side down against the fabric.
Cover the patch with a thin cloth or pressing cloth to protect it. Press the iron firmly on top for about 15-30 seconds. Avoid moving the iron around to prevent wrinkles. Afterward, let the patch cool before checking if it’s fully attached.
If the edges lift, press again for another 10-15 seconds. For thicker fabrics, applying pressure for a bit longer might be necessary.
Ideal Fabrics for Iron-On Patches
Cotton, denim, and polyester blends generally work best for iron-on patches. These fabrics can handle the heat required to melt the adhesive.
Avoid applying iron-on patches on delicate materials like nylon, silk, or leather. Heat may damage these fabrics or cause the adhesive to fail.
Some heavy fabrics, like thick canvas, may need more heat or time to bond well. Stretchy fabrics can cause the patch to peel off sooner, so they are less ideal.
Tips for Achieving a Secure Bond to Attach Embroidered Patches
Use a clean, flat surface for ironing to ensure even pressure. Do not use steam, as moisture can weaken the adhesive.
Always place a pressing cloth between the patch and the iron to protect the patch’s embroidery and fabric. Let the patch cool completely before handling to let the glue set fully.
If possible, sew the edges after ironing to make patches last longer, especially on items that get washed or stretched often. Washing clothes inside out and using cold water also helps preserve the bond.
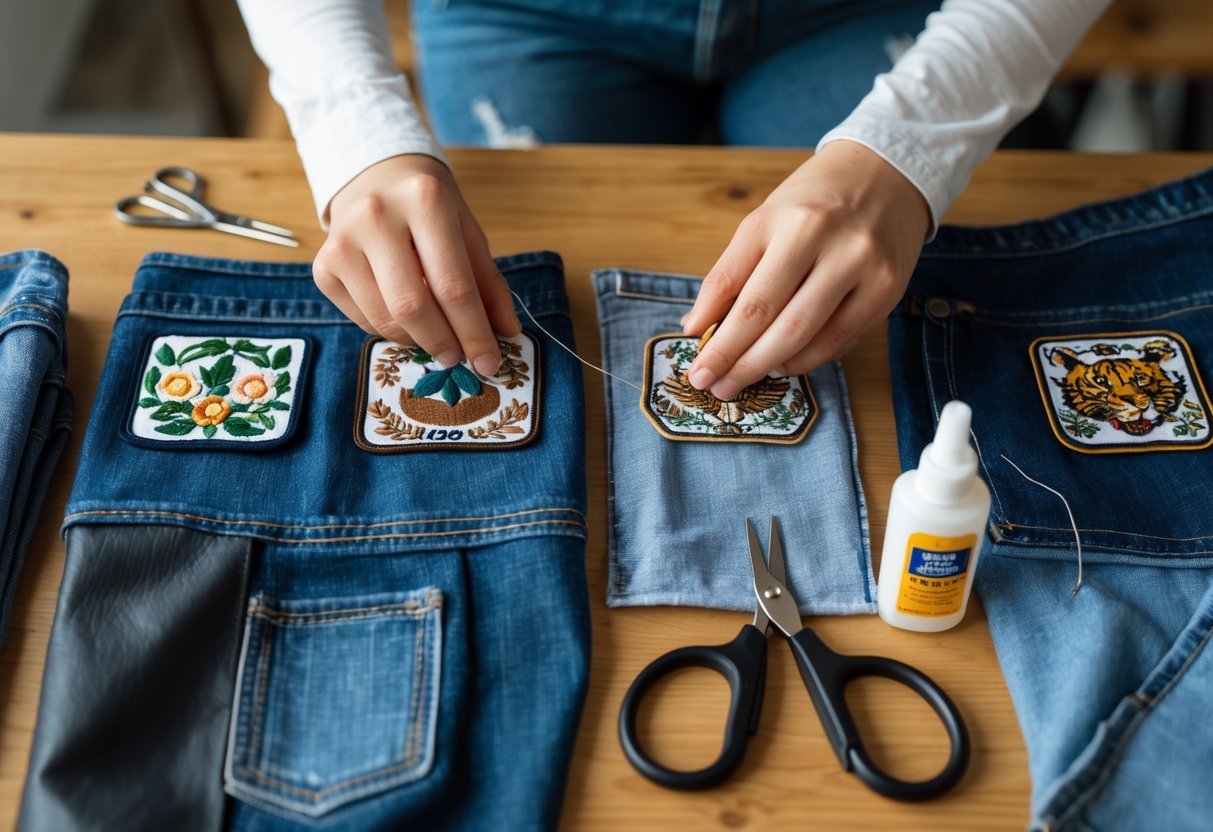
Sewing Technique for Lasting Attachment
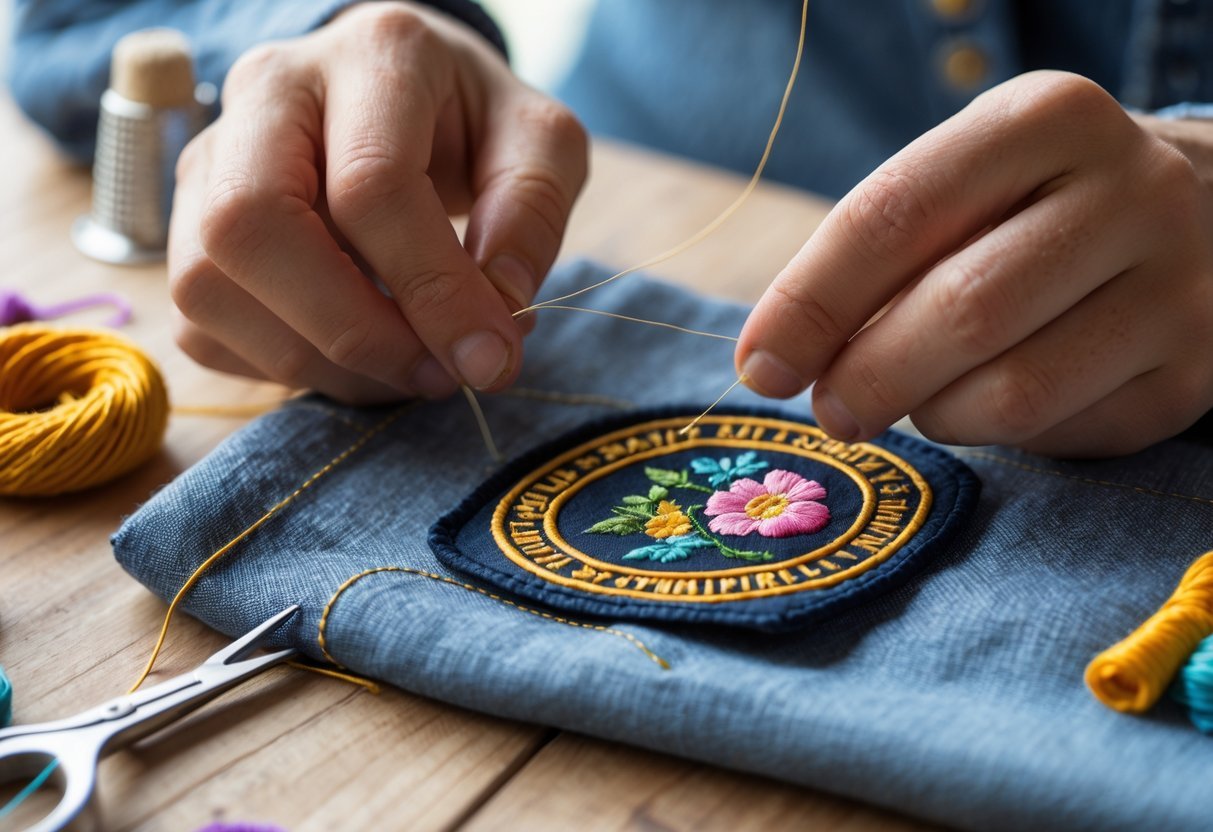
Sewing an embroidered patch securely requires choosing the right stitching method, using proper tools, and picking suitable thread. Attention to detail during sewing ensures the patch stays firmly attached over time and through regular wear.
Hand Sewing vs Machine Sewing to Attach Embroidered Patches
Hand sewing gives precise control over stitch placement, making it ideal for small or detailed patches. It allows sewing close to the patch edge, reducing gaps where edges might lift. This method works well on delicate fabrics or curved surfaces that need care.
Machine sewing is faster and creates even, consistent stitches. It’s best for larger patches or thick fabrics like denim. A zigzag or straight stitch is commonly used. However, machine sewing can be less flexible on awkward areas and may require stabilizing the fabric to avoid shifting.
Choosing between the two depends on patch size, fabric type, and desired look. Sometimes combining both methods adds security.
Best Practices for Neat, Durable Stitches
Stitches should be close together and uniform in size to hold the patch firmly. Leaving wide gaps can cause the patch to peel off over time. A running stitch or whipstitch is most effective.
Starting with a knot on the backside secures the thread. Keeping stitches tight but not too tight prevents puckering. When sewing around corners, slow down to maintain control and avoid loose threads.
Sewing through only one layer of fabric, instead of multiple layers, avoids bulk and maintains garment flexibility. Regularly checking the secured edges during sewing cuts down the risk of loose spots.
Recommended Thread Types and Tools
Thread choice impacts durability. Polyester thread is preferred for its strength and resistance to shrinking or fading. Cotton thread works but may wear faster. Matching thread color to the patch border creates a clean appearance.
Use a sharp, fine needle sized for the fabric weight—thin needles for lightweight fabrics and heavier needles for thick materials. Pins or fabric clips help hold the patch in place, especially before hand sewing.
An embroidery hoop can stabilize the fabric for hand stitching, ensuring even tension. Scissors with sharp points are essential for cutting threads cleanly to prevent unraveling.
Applying Embroidered Patches with Fabric Glue

Using fabric glue to attach embroidered patches offers a quick and flexible way to secure patches without sewing. However, choosing the right glue, applying it properly, and understanding its limits are important to ensure a strong and lasting bond.
Selecting the Right Adhesive to Attach Embroidered Patches
Not all fabric glues perform the same. Some glues work best on delicate fabrics, while others are more suited for heavy-duty use. For delicate or thin materials, Aleene’s Fabric Fusion is a good choice because it stays flexible and is non-toxic. It requires about 24 hours to fully cure and holds well through 20 to 30 wash cycles.
For outdoor gear or thicker materials like denim, Gorilla Fabric Glue offers a strong, waterproof bond that lasts through heavy wear. Beacon Fabri-Tac is effective for detailed patches and leather, curing quickly in 15 minutes with strong edge hold.
Choosing a glue depends on fabric type and how much stress the patch will face. A thin, even application is crucial to avoid seepage or stiffness.
Instructions for Gluing Patches
First, ensure the fabric is clean and dry. Using a hoop or flat surface can help keep the fabric steady. Apply a thin layer of fabric glue evenly on the patch’s back. For larger patches, add a light zigzag in the middle and outline the edges to prevent lifting.
Carefully place the patch on the fabric and press down firmly. Using a flat, heavy object to hold the patch in place while the glue sets improves adhesion. Most fabric glues need 24 hours to cure fully, so avoid washing or wearing the garment until then.
If the glue allows, a low-heat press with a cloth between the iron and patch can improve bonding, but only if the fabric and adhesive support it.
Limitations and When to Use Gluing
Fabric glue is best for patches in low-stress areas or on fabrics where sewing is difficult. It provides a smooth finish without holes, which is ideal for delicate clothing or quick fixes.
However, glued patches may peel after frequent washing or heavy friction. For workwear or items needing heavy cleaning, sewing the patch or combining glue and stitching is safer.
Glue is also less suitable for very flexible or stretchy fabrics, as it may stiffen the area or crack. In these cases, a sew-on method is more reliable. Glue works best for casual wear, decorative patches, and materials compatible with adhesives.
Professional Finishing: Applique Embroidery Machine Method

This method uses an embroidery machine to attach patches with precision and durability. It creates a strong bond by stitching the patch directly onto the fabric, making it ideal for clothing that faces heavy use or frequent washing.
How Applique Embroidery Secures Patches
Applique embroidery involves layering fabric shapes onto a base material and stitching around the edges with dense, tight stitches. The embroidery machine uses an exact pattern to sew the patch firmly, preventing lifting or peeling over time.
The stitching covers both the patch and the garment, binding the two together tightly. This approach reduces the risk of the patch moving or fraying, especially when using high-quality thread. Unlike simple sewing, machine applique often includes multiple stitch passes, adding strength and resisting wear.
Because the patch is sewn directly with controlled stitch patterns, it can stay attached through stretching, washing, and daily wear. This makes it suitable for permanent application where durability is key.
Advantages for Sports and Workwear
This technique is well-suited for sports uniforms, work clothes, and other active use items. Its durability stands up to frequent washing, sweat, and physical strain. The consistent, machine-controlled stitching ensures the patch holds firm without damaging the fabric.
For sportswear, the applique method can handle stretching and movement without the patch detaching or distorting. In workwear, it offers a professional look with lasting adhesion, even with tough materials.
While it requires specialized embroidery machines, it delivers a clean, polished finish. The patch blends seamlessly with the garment and resists the wear and tear common in high-activity environments.
Alternative Options for Attaching Embroidered Patches
Some methods for attaching patches offer flexibility or quick fixes without permanent changes. These options work well when sewing or ironing isn’t suitable or when the wearer needs to remove or reposition the patch frequently.
Using Velcro Hook and Loop Backing
Velcro backing provides a reusable way to attach patches. One side of the Velcro is sewn or glued to the patch, while the matching side is fixed to the garment. This allows the patch to be easily removed or swapped without damaging the fabric.
Velcro is ideal for items like jackets, bags, or uniforms where patches change often. The hook and loop system holds patches firmly during normal use but also allows quick removal for washing or replacement.
For added durability, the Velcro should be securely sewn or glued using fabric-appropriate adhesives. This method works best on sturdy fabrics that can handle the weight and thickness of Velcro without sagging or tearing.
Temporary Fixes: Double-Sided Tape and Safety Pins
Double-sided tape offers a quick and non-permanent patch attachment. It requires clean, dry fabric for good adhesion and is best for short-term use or events. Tape does not hold up well to washing or heavy movement.
Safety pins provide an easy way to affix patches with no tools or damage to fabric. Pins allow for repositioning and removal at any time. However, pins may shift or catch on other materials, and they do not offer a smooth look.
Both tape and safety pins serve as quick solutions but are not suitable for long-term patch attachment due to limited holding strength and potential fabric wear. These methods are most practical when temporary patching is needed.
Frequently Asked Questions
Attaching embroidered patches involves specific steps depending on the method used. Different techniques offer options for durability, convenience, and fabric type compatibility.
What are the steps for attaching an embroidered patch with an iron?
First, place the fabric on a flat, heat-resistant surface. Position the patch where it will be applied.
Cover the patch with a thin cloth to protect it. Press a hot iron firmly on the patch for about 15-30 seconds. Let it cool, then check if it sticks properly. Repeat if needed.
How can I apply a patch to a piece of clothing without sewing?
Using fabric glue is an effective option. Apply adhesive to the back of the patch, then press it firmly onto the fabric.
Peel-and-stick patches are also available, where the glue is pre-applied and covered by a protective layer to remove before placement. These allow easy, temporary use.
What are alternative methods for attaching patches without using an iron?
Velcro fasteners can be sewn onto both the patch and garment for removable use. Some patches come with heat-activated glue that bonds under dryer heat rather than ironing.
Hand stitching or machine sewing provides more permanent attachment without relying on heat.
How can I ensure an embroidered patch is securely attached to fabric?
Sewing the patch is the most secure method. Whether by hand, sewing machine, or embroidery machine, stitching around the entire edge provides long-lasting hold.
If using iron-on patches, adding a few stitches after heat application will help prevent peeling during washing or daily wear.
What are some creative items I can embellish with embroidered patches?
Patches can be applied to jeans, jackets, hats, backpacks, and purses. They also work well on scarves, sweatshirts, and sneakers for personal style.
Patches can cover tears or stains, or show support for clubs, bands, or causes.
What’s the best way to affix a patch to a shirt or jacket using an iron?
Begin by positioning the patch on a clean, flat surface. Cover with a protective cloth.
Set the iron to a medium-high setting without steam. Press firmly for 20-30 seconds, applying even pressure.
Allow the patch and fabric to cool completely before moving the garment. For extra security, sew around the edges after ironing.